Basic Manuscript Format
Manuscripts follow Chicago or Turabian Style formatting. The rules that follow are typical requirements. Different contexts will have different requirements, so always consult your professor or publisher for specific guidelines.
Please Note: The entire manuscript should be contained within one single Microsoft Word document. Do not split chapters or scenes up into separate documents. Include all necessary front matter and back matter in your manuscript. Separate chapters with page breaks and scenes with proper scene breaks. If you have supplementary materials such as a table of contents, acknowledgements, foreword, preface, quote or other front or back matter, interior artwork or cover art, glossaries, pronunciation keys, indexes, chapter headers, or other images, upload them the
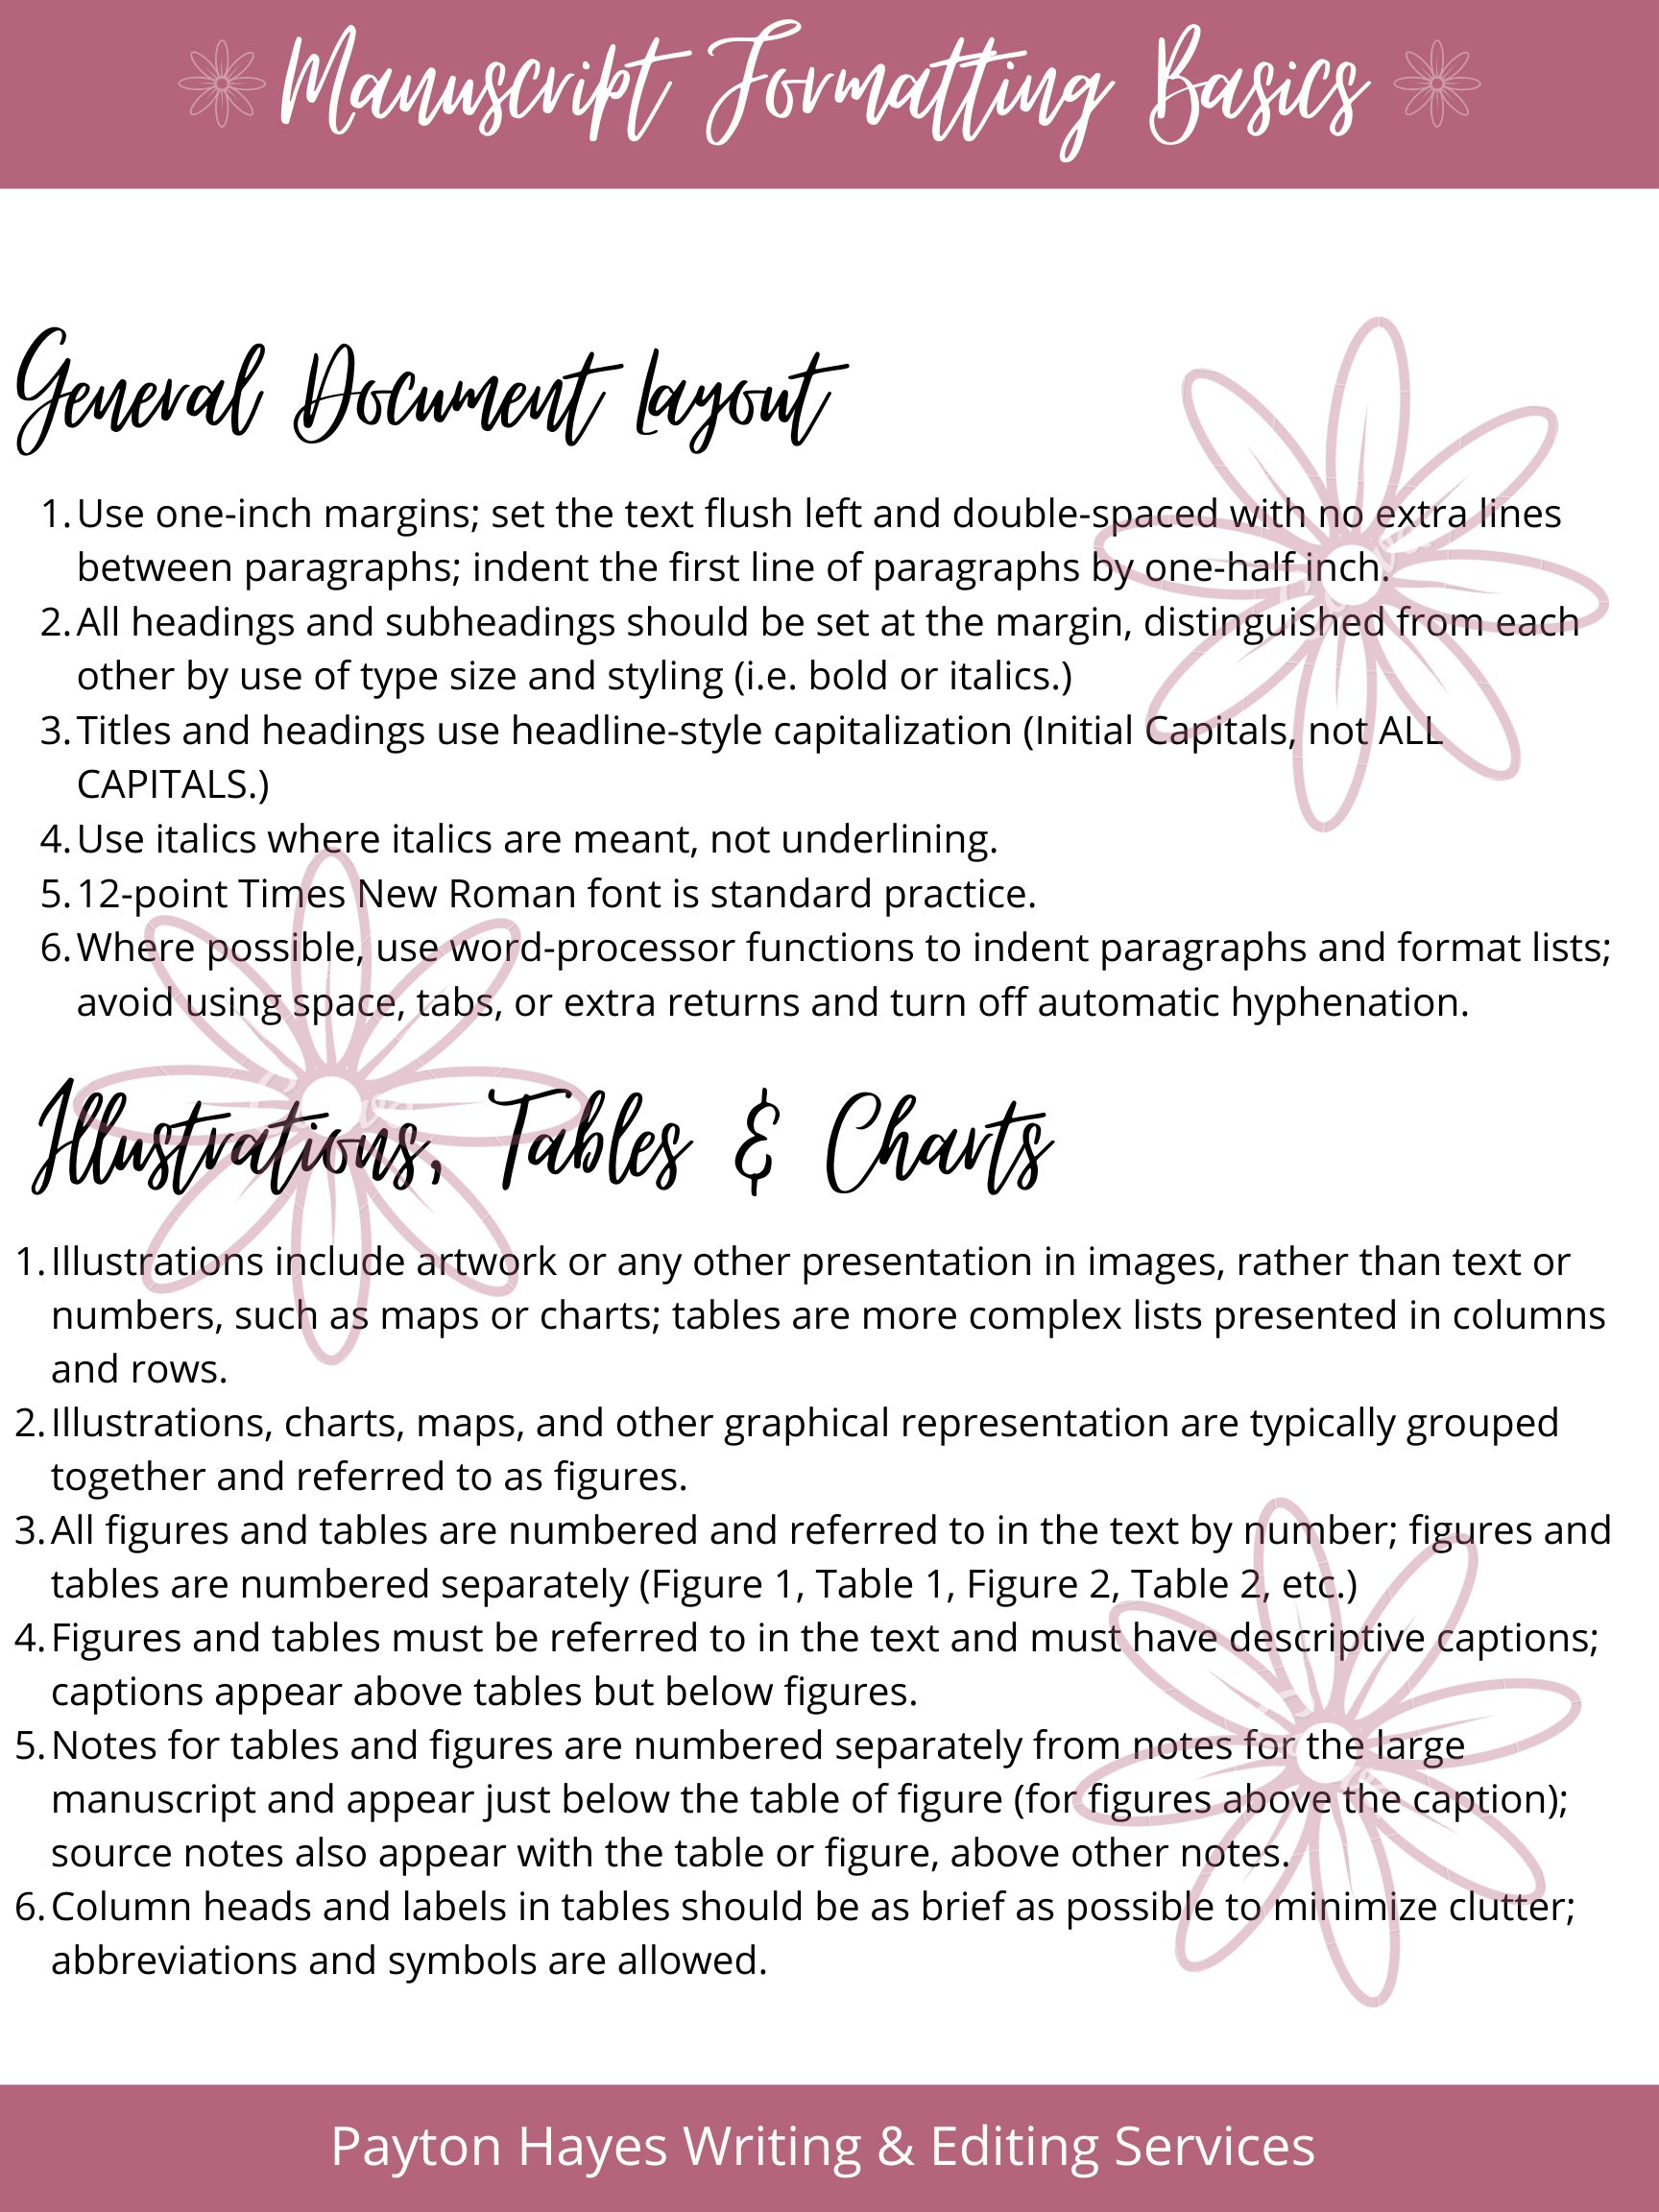
General Document Layout
Use one-inch margins; set the text flush left and double-spaced with no extra lines between paragraphs; indent the first line of paragraphs by one-half inch.
All headings and subheadings should be set at the margin, distinguished from each other by use of type size and styling (i.e. bold or italics.)
Titles and headings use headline-style capitalization (Initial Capitals, not ALL CAPITALS.)
Use italics where italics are meant, not underlining.
12-point Times New Roman font is standard practice.
Where possible, use word-processor functions to indent paragraphs and format lists; avoid using space, tabs, or extra returns and turn off automatic hyphenation.
Illustrations, Tables & Charts
Illustrations include artwork or any other presentation in images, rather than text or numbers, such as maps or charts; tables are more complex lists presented in columns and rows.
Illustrations, charts, maps, and other graphical representation are typically grouped together and referred to as figures.
All figures and tables are numbered and referred to in the text by number; figures and tables are numbered separately (Figure 1, Table 1, Figure 2, Table 2, etc.)
Figures and tables must be referred to in the text and must have descriptive captions; captions appear above tables but below figures.
Notes for tables and figures are numbered separately from notes for the large manuscript and appear just below the table of figure (for figures above the caption); source notes also appear with the table or figure, above other notes.
Column heads and labels in tables should be as brief as possible to minimize clutter; abbreviations and symbols are allowed.
Word Processor Formatting Cheat-Sheet
Before you begin writing or formatting:
When editing and revising, make a copy and save drafts with the same name and ascending versions, i.e. 1.0, 1.5, 2.0, 2.5.
Regularly back up the latest version of your manuscript to an external hard-drive or cloud-based storage service.
Set font to Times New Roman, 12-pt, black.
Set margins to one-inch.
Set up autosave settings for MS Word and Pages to avoid losing your work.
Unless otherwise stated in the submission guidelines, use:
US and Canada: Letter Size (8.5” x 11”) format.
For most other territories: A4 (210 x 297mm) format.
How to format line spacing and paragraphs in various word processors:
MS Word: Format → Paragraph → Spacing: Double.
Google Docs: Format → Line & paragraph spacing: Double.
How to format paragraph indentation in various word processors:
MS Word: Format → Paragraph → Indentation → Left: 0.5” → Special: First line.
Google Docs: Format → Align & indent → Indentation options → Special: First line → 0.5”.
Please note: Some programs display settings under “Format” for Windows and “File” for iOS.
How to format headers in various word processors:
Each page should have a header with your surname, the book title, and the page number in ALL CAPS with this standard format: SURNAME/TITLE/PAGE #. Do not count your title page as “PAGE 1” of your manuscript. Instead, choose the ‘different first page’ option and ensure your title page and following pages are formatted correctly.
MS Word: Insert → Page Number → Position: Top of Page → Alignment: Right → Uncheck “Show number on first page.” Then click Page Number → Format Page Numbers…→ Start at: 0. Then double-click at the top of your page 1 to add your surname and book title. Align Right to match the page number.
Google Docs: Insert → Page numbers → [the icon showing page numbers on the top right, starting with the second page — it should be the second option, the one in the first row, upper right side of the quick page number settings] Add your name and title as you’d do with the MS Word document.
The End:
Close your manuscript with “THE END” in all caps, center aligned, two lines below your last sentence. If your final sentence reaches the bottom of the page, allow a page break and put “THE END” on the next page, two lines down from the break. (Don’t include the quotation marks).
Sample Manuscript Document
Click the buttons below to download my free novel manuscript sample document. This document is pre-formatted to fit Chicago Style rules. Double check all the settings to ensure compatibility and consistency across your devices.
Title Page
Page 1
Page 2
Page 3
Page 4
You can read more about Chicago Style from the Chicago Manual of Style or the CMS Quick Study Guide. View them on Amazon at the links below.


